Openers · Orchard Point
Photo-Eye Sensor Alignment or Replacement in Orchard Point
There are no sensors at the floor at all, or a previous owner has wired the pair together up beside the motor so the beam never crosses the doorway. A home inspector has just pointed it out.
Photo-Eye Sensor Alignment or Replacement
In plain words
If your opener has no sensors at the floor, that alone does not date it, since a pair can be missing, removed or never reconnected; the technician identifies the model before deciding whether a pair can be restored or the operator itself needs replacing. The visit is still worth making: the technician tests contact reversal and sets out what a modern operator brings, including a matched sensor pair, force reversal and a monitored circuit that holds the door open until the beam clears. Where sensors are present but tucked up beside the motor, they are returned to the doorway where they belong.
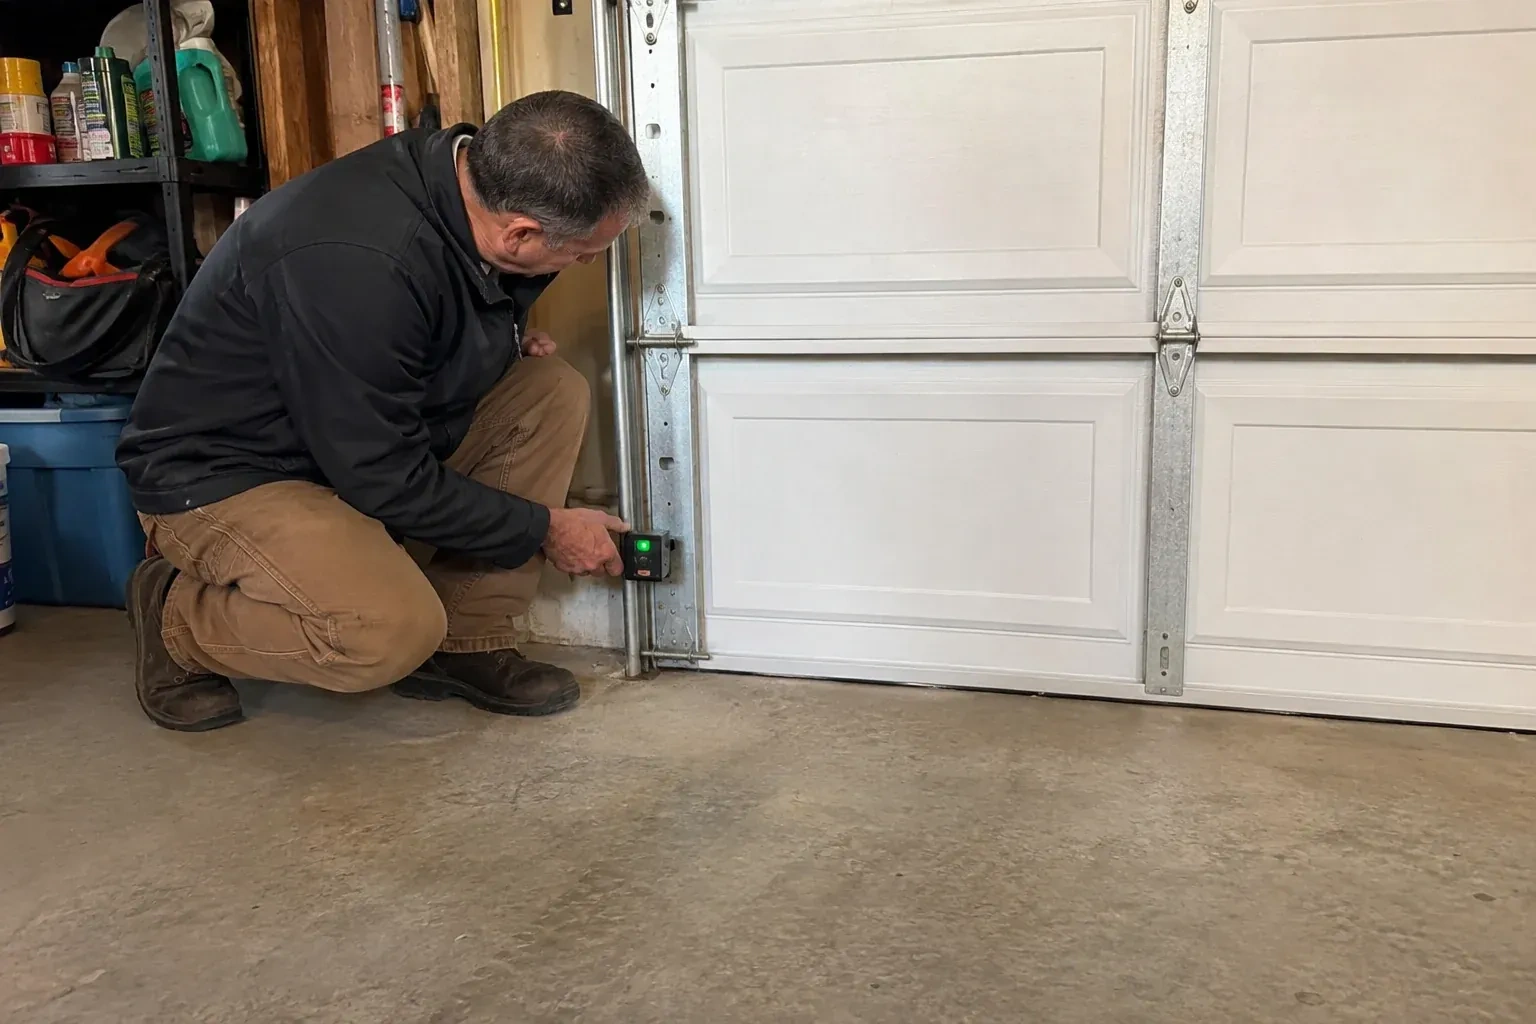
How the visit goesThe small light on one of the sensors near the floor has gone dark, or it flickers when someone walks past the track. The other one glows steadily. The door refuses to close from the car.
Orchard Point
How the visit goes
Counting the opener's flashes
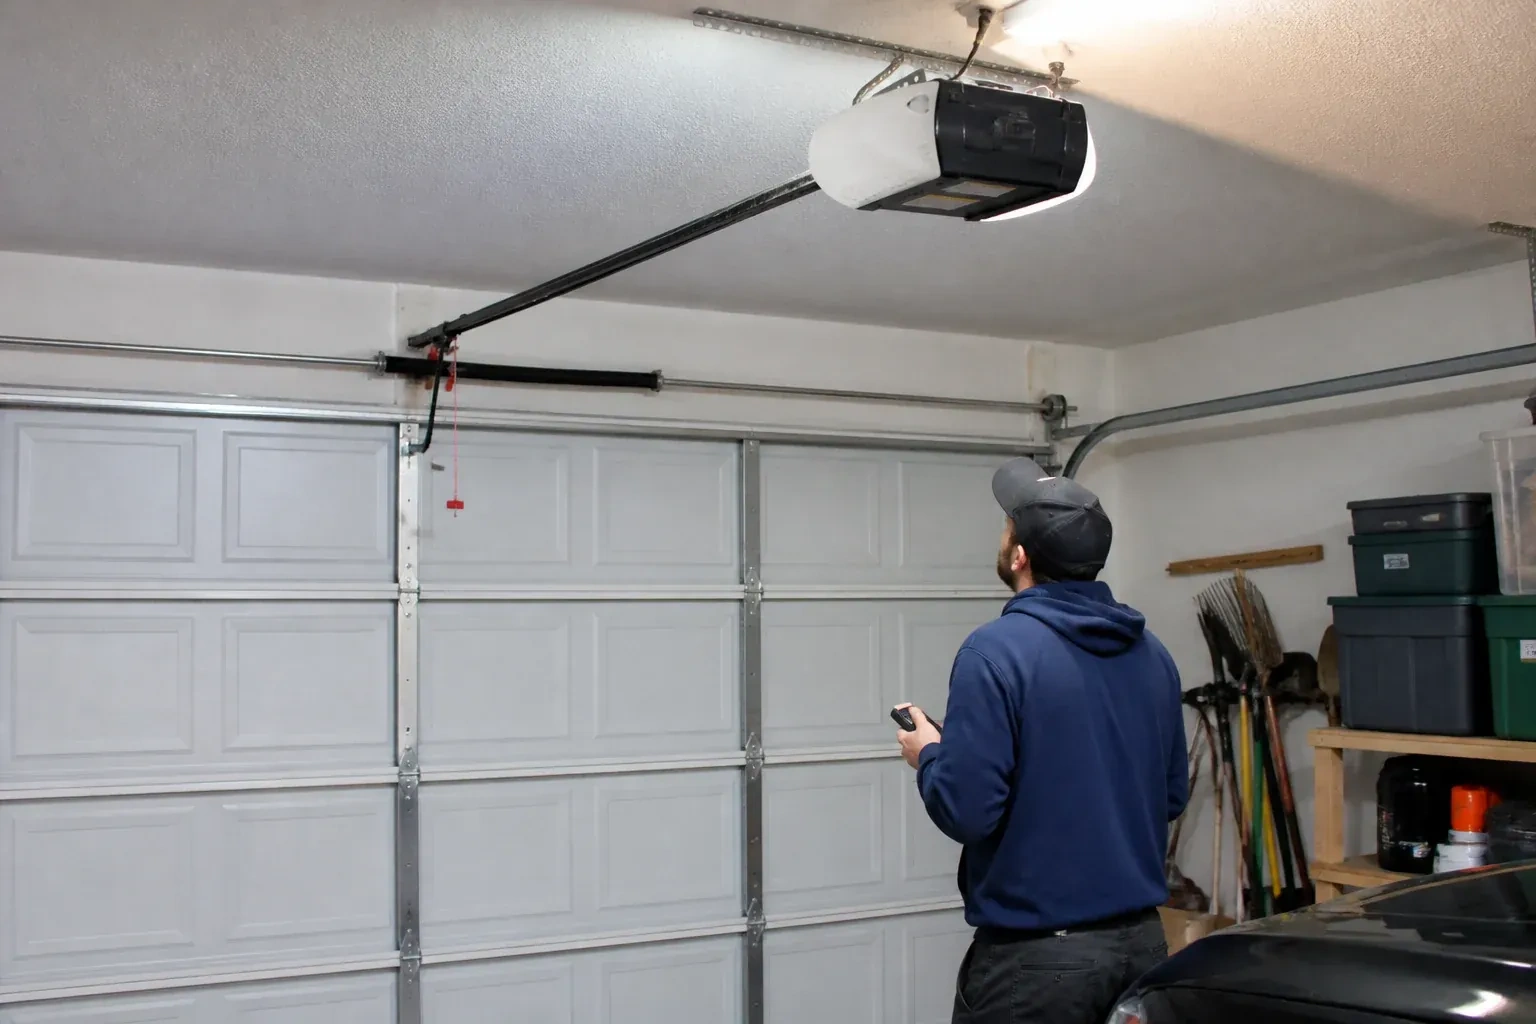
The head unit has its own way of reporting a sensor problem. Many openers flash the light bulb a fixed number of times when close is pressed and the beam is not satisfied, and newer units blink a code on their up and down arrows that separates a blocked or misaligned beam from a cut wire, a disconnected pair or reversed wiring. The technician reads the model off the label, counts the pattern and matches it to the maker's chart. This is what keeps the visit efficient: a code that says the circuit is open sends the work to the wiring, while a code that says obstructed or misaligned sends it to the brackets.
Proving it with the two tests
No sensor job is finished on a steady light alone. The door is closed from the wall control and from a remote, and while it is on its way down an object is passed through the beam; the door must stop and return to fully open. Then a 2x4 is laid flat on the floor under the centre of the door and the door is closed onto it; it must reverse on contact. Both are repeated, the opener's diagnostic light is confirmed clear, and any app or hub reporting a sensor code is refreshed. The customer watches the tests so the normal behaviour is seen, not described.
The monthly beam test
The habit worth keeping takes about a minute. Once a month, with the door open, press close on the wall control and, as it moves down, pass a broom handle through the beam near the floor. The door should stop and climb back to fully open. Then lay a 2x4 flat under the middle of the door and close onto it; the door should touch it and reverse. If either test fails, stop using the opener; close the door first if it is not already closed, then use the manual release, and get help moving it by hand if it feels heavy or will not hold. A door that passes both tests is doing its job.
Photo-Eye Sensor Alignment or Replacement
In the van
- Protective wire channel
- Receiving-eye sun shade
- Concrete anchors
- Wing nuts and carriage bolts
- Multimeter
What affects the quote
Same fees day, night or weekend
1Opener make and generation
Sensor pairs are matched to the opener family, and some models take a kit with brackets and wire while others take sensors alone. The head unit label sets which pair is needed and how it is priced.
2Door-side findings
A balance problem, a stiff roller or a bottom seal that needs replacing sometimes shows up during testing. Those belong to their own service and are noted and quoted separately rather than hidden in the sensor work.
3Force and travel adjustment alongside
If the reversing turns out to involve a travel limit set long or a force setting made in summer, adjusting and re-testing those settings is included as a small extra step.
Photo-Eye Sensor Alignment or Replacement: questions
How should I clean the lenses?
Gently, with a soft dry or lightly damp cloth, the way you would clean eyeglasses. Never scrape a lens or use a solvent, since a scratched or clouded lens scatters the beam. Wipe both sensors, then check that the receiving light comes on steadily. If a lens frosts on cold mornings, give it a few minutes to clear or dry it with a cloth. A quarterly wipe keeps dust, cobwebs and salt film from building up.
What happens during the visit, in order?
Questions first: what the door does, when it began, what changed. Then the beam path is cleared, the sensor lights are read, the opener's flash code is counted, and the brackets and heights are measured. If the signs point to the circuit, the wire is traced and tested with a meter. The cause is fixed, whether that is alignment, brackets, wire, a shade or a new pair, and the visit closes with the beam test and the contact reversal test.
What do the small lights on the sensors mean?
Arrangement varies by model: most pairs carry an indicator on each side, in differing colours for sender and receiver, though some older pairs light only the receiver, so check the maker's chart. A receiving light that is dark or flickering means the beam is not landing on it, so the pair needs aligning or something is in the way. Both lights dark means the pair has no power, which points to the wire or the terminals at the head unit. Steady lights on both sides mean a healthy system.
Openers & Access
- Chain-Drive Opener RepairPress the button and the opener hums for a second, then quits.
- Belt-Drive Opener RepairThere is a new squeal from the front of the rail, up near the header, on every cycle.
- Garage Door Opener ReplacementSince the storm the door behaves oddly: it reverses halfway down for no reason, the light flickers…
Photo-Eye Sensor Alignment or Replacement near you
In Orchard Point we work on garage doors of every age and size: single and double residential doors, insulated and uninsulated, wood and steel, plus commercial rolling and sectional doors. The service pages explain the repairs, replacements and installations that apply to each.